
Polishing Tips for Antique Wooden Surfaces
Chosen theme: Polishing Tips for Antique Wooden Surfaces. Welcome to a warm corner for caretakers of old wood—where we blend time-tested techniques, gentle know-how, and heartfelt stories to revive irreplaceable character and shine. Read on, ask questions, and subscribe for more antique-friendly guidance.
Know Your Antique: Wood Species and Historic Finishes
Antique wood tells its history through grain direction, darkened pores, and the gentle glow of patina. Spend time studying light reflections and fingerprint wear. These clues guide how aggressively you can polish, where to take extra care near edges, and whether a wax-only approach will preserve the surface’s inherited dignity.
Know Your Antique: Wood Species and Historic Finishes
A discreet spot test helps: alcohol will slightly soften shellac, lacquer thinner affects lacquer, while oils and waxes react differently. Test in an unseen area and stop immediately if the finish becomes tacky. Correct identification prevents unfortunate dull patches and ensures your polishing method enhances, rather than erases, historic character.
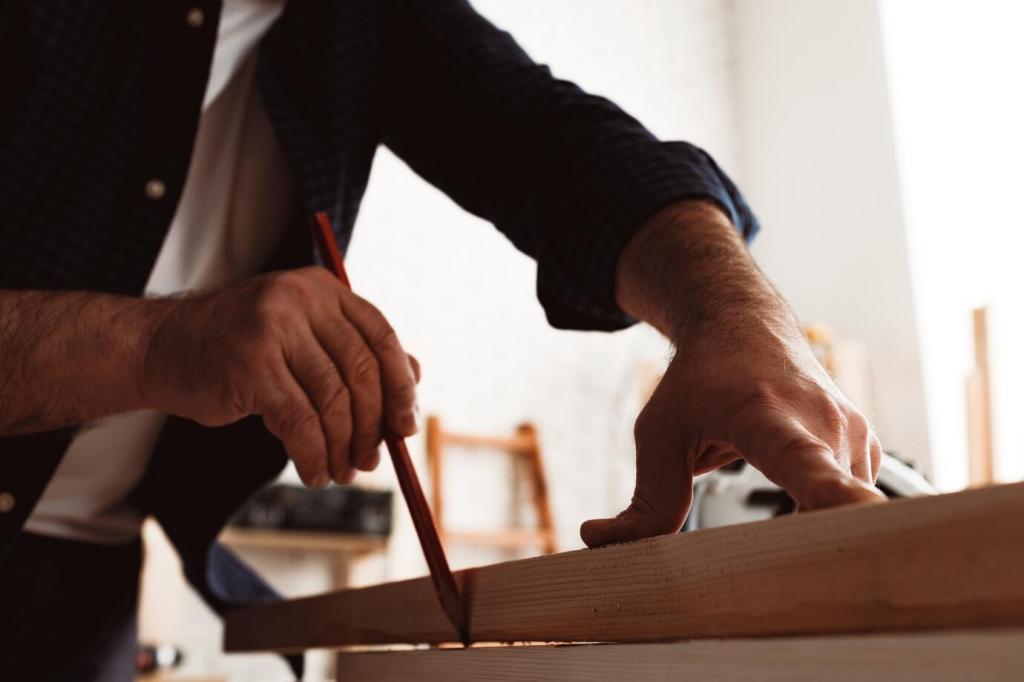
Safe Surface Preparation Before Any Shine
Dusting That Respects Old Fibers
Use a soft horsehair brush and a low-suction vacuum with a micro-attachment to lift dust from carvings and corners. Avoid aggressive wiping that grinds grit into the finish. Move in the direction of the grain, supporting loose moldings with your free hand to avoid accidental flexing and cracks during the cleaning pass.
Gentle Cleaning Solutions That Do No Harm
When grime resists dusting, choose a pH-neutral cleaner diluted with distilled water. Lightly dampen a lint-free cloth and work slowly. Avoid ammonia or citrus solvents that can haze shellac and dry out old wood. Follow immediately with a dry cloth, allowing the surface to breathe for several hours before polishing begins.
Acclimation and Dry-Down Time
After cleaning, let the furniture rest in stable humidity, ideally between forty and fifty-five percent. This stabilizes the finish and reduces streaking during polish application. Rushing here can trap moisture under wax, creating clouding later. Patience now earns a longer-lasting glow and fewer touch-ups throughout the year.
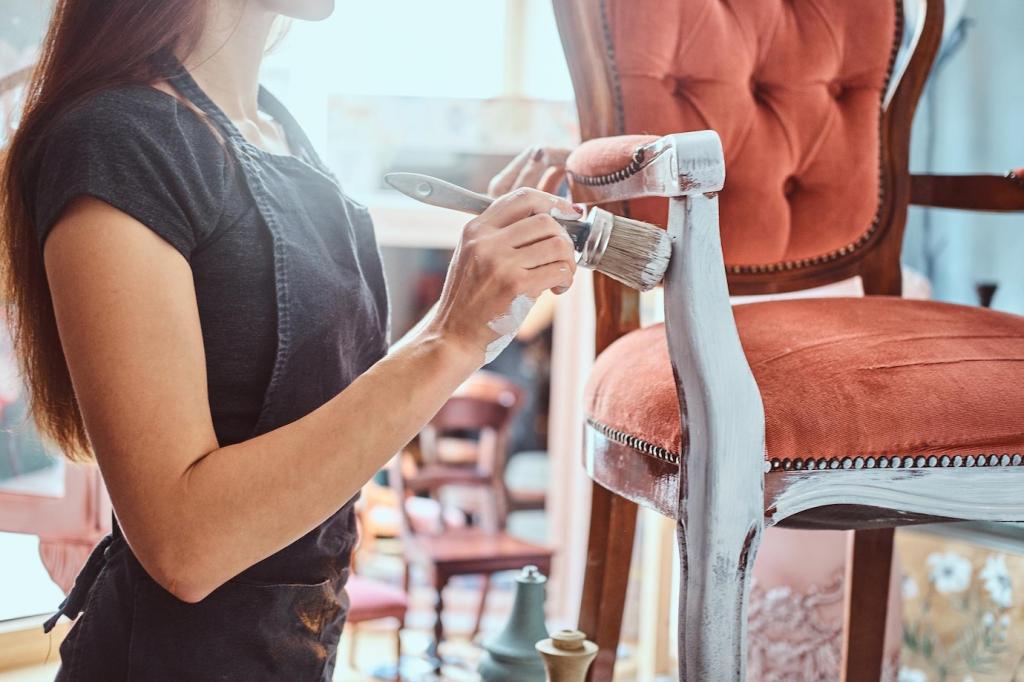
Beeswax offers warmth and easy control, while carnauba adds durability and a subtle crispness to the gloss. A thin, well-buffed layer is better than a heavy coat. Use odorless mineral spirits or traditional turpentine sparingly for softening. Always avoid silicone polishes that contaminate future restoration and cause frustrating fisheyes.
Choosing Waxes, Oils, and Ultra-Fine Abrasives
If an oil is truly warranted, tung offers resilient polymerization and water resistance; boiled linseed warms color beautifully but can yellow. Apply sparingly over compatible finishes only. Spread rags flat to dry outside or submerge in water—oil-soaked cloths can spontaneously combust. Safety and subtlety go hand in hand.
Choosing Waxes, Oils, and Ultra-Fine Abrasives
Polishing Techniques for a Deep, Honest Glow
A folded pad charged with super-thin shellac can refresh tired film without building thick layers. Move in figure-eights or with the grain, adding a whisper of alcohol to keep the pad gliding. Avoid edges where finishes are thinnest. Practice on scrap first; controlled motion beats heavy application every single time.
On sound finishes, a small amount of paste wax applied with 0000 steel wool can level tiny imperfections. Immediately buff with a clean cotton cloth to raise the glow. Keep the motion long and even. Skip silicone sprays, which create future refinishing headaches and attract dust with a deceptive short-lived slickness.
Use cotton swabs, soft artist brushes, and patience to polish intricate carvings without clogging details. Lift removable hardware to avoid residue halos around escutcheons. Old finishes near edges wear thin, so lighten your touch and reduce polish there. The goal is harmony, not uniform shine over delicate history.
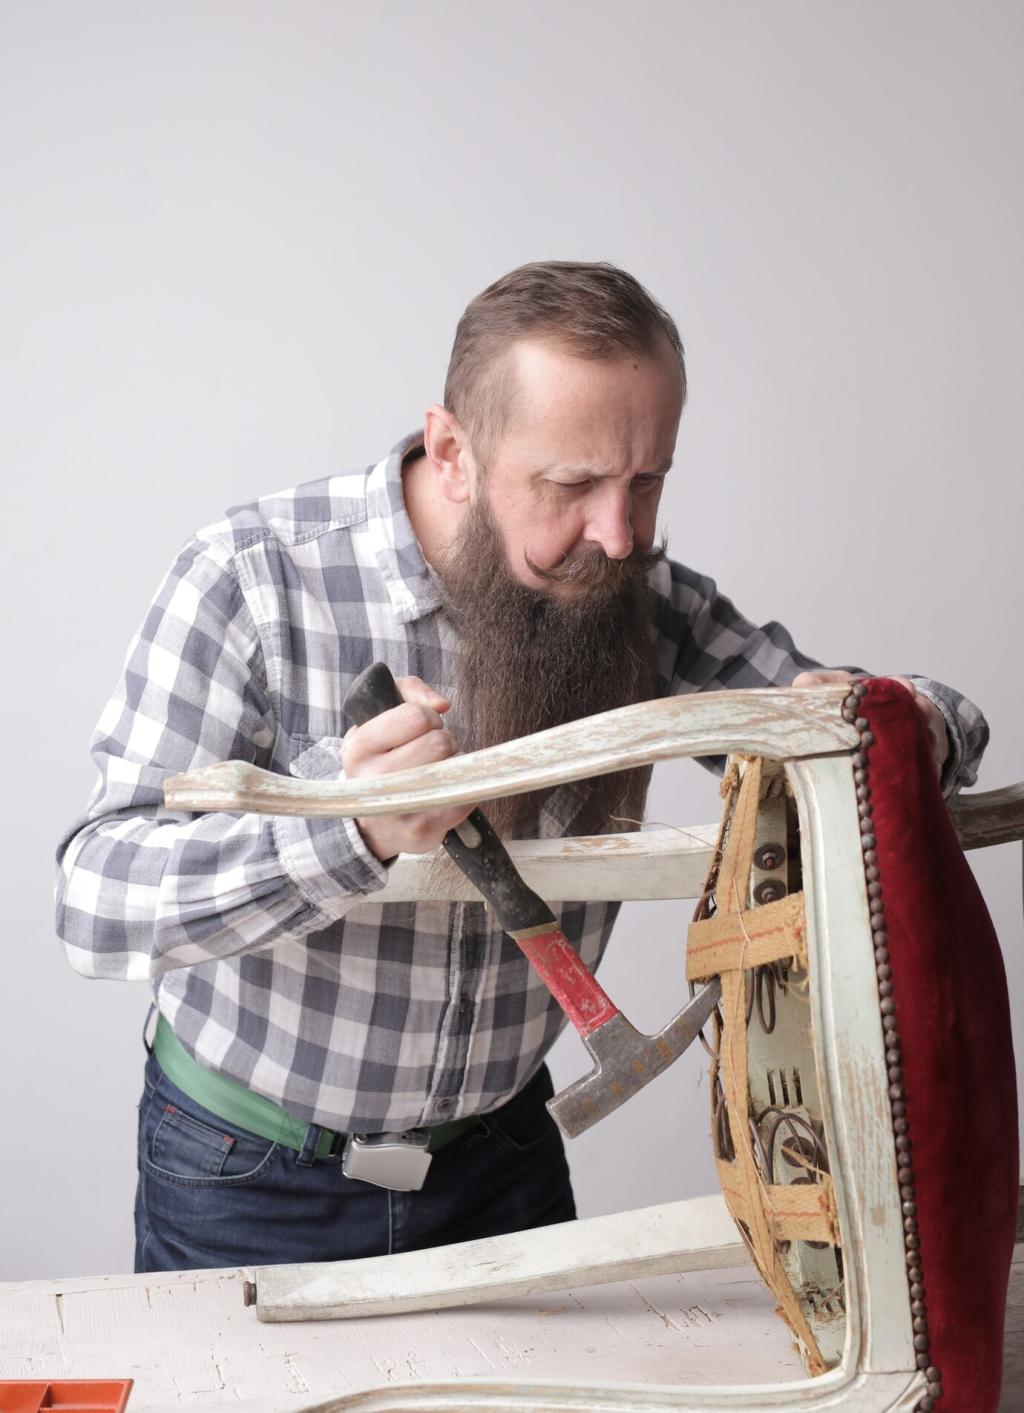
Small Repairs that Complement Polishing
01
White water rings in shellac or lacquer sometimes yield to gentle heat: lay cotton cloth, then a warm iron for seconds only. Alternatively, a lightly charged shellac pad can reflow the surface. Proceed cautiously, testing frequently. If moisture is deep in wood, do not chase it with aggressive polishing. Patience wins.
02
Wax fill sticks can disguise shallow scratches before waxing the whole surface. Blend colors, working darker first, then soften edges with mineral spirits. Burn-in sticks are for experts and risk disturbing old films. Always aim for invisibility under typical room light rather than perfection under unforgiving raking illumination.
03
Loose veneer often responds to warm hide glue reactivation. Introduce a small amount beneath the lift, use a protective caul, then clamp lightly. For fragile moldings, apply minimal pressure and pad clamps to avoid impressions. After curing, refine the area with conservative polishing to integrate sheen with surrounding surfaces.
Long-Term Care: Preserve the Glow You Earned
Keep relative humidity stable, ideally between forty and fifty-five percent, to prevent finish crazing and wood movement. Filter sunlight with curtains to reduce UV fading. Use coasters and soft felt pads under decor. Rotate objects seasonally to avoid witness marks. These quiet habits safeguard every hour you invested polishing.

Long-Term Care: Preserve the Glow You Earned
When relocating furniture, lift—never drag—to protect legs and joints. Wrap with breathable moving blankets, not plastic that traps moisture. In storage, keep pieces off concrete floors and away from vents. A light, occasional rebuff with a clean cloth maintains sheen without over-waxing. Share your routines; readers love practical checklists.
Stories, Questions, and Community Wisdom
A Flea-Market Walnut Desk, Transformed
I found a 1920s walnut writing desk coated with dust and ring marks. With careful identification, shellac-friendly polishing, and a carnauba top-up, its feathered grain reappeared without plastic glare. The owner cried happy tears. Have a similar rescue story? Post photos and steps you took, so others can follow your lead.
Your Toughest Polishing Puzzle
Is there a stubborn haze or a mystery finish stumping you? Describe the wood, finish tests, climate, and prior products used. We will crowdsource sensible, conservative next steps. Leave a comment, ask away, and subscribe to get notified when your question inspires our next antique-safe polishing guide.
Myth Busting: Silicone Sprays and Quick Fixes
Silicone sprays promise instant shine but contaminate finishes, causing fisheyes during future refinishing and attracting more dust over time. Instead, choose reversible waxes and careful rub-out techniques. If you have switched away from silicone, tell us what worked best. Your experience may save a cherished heirloom from grief.