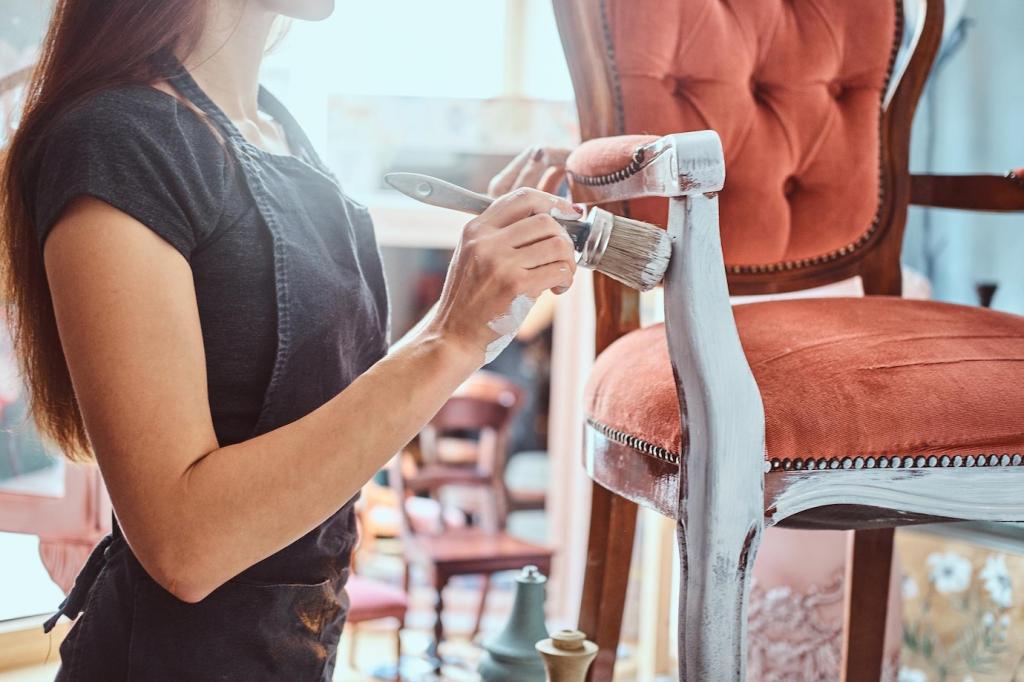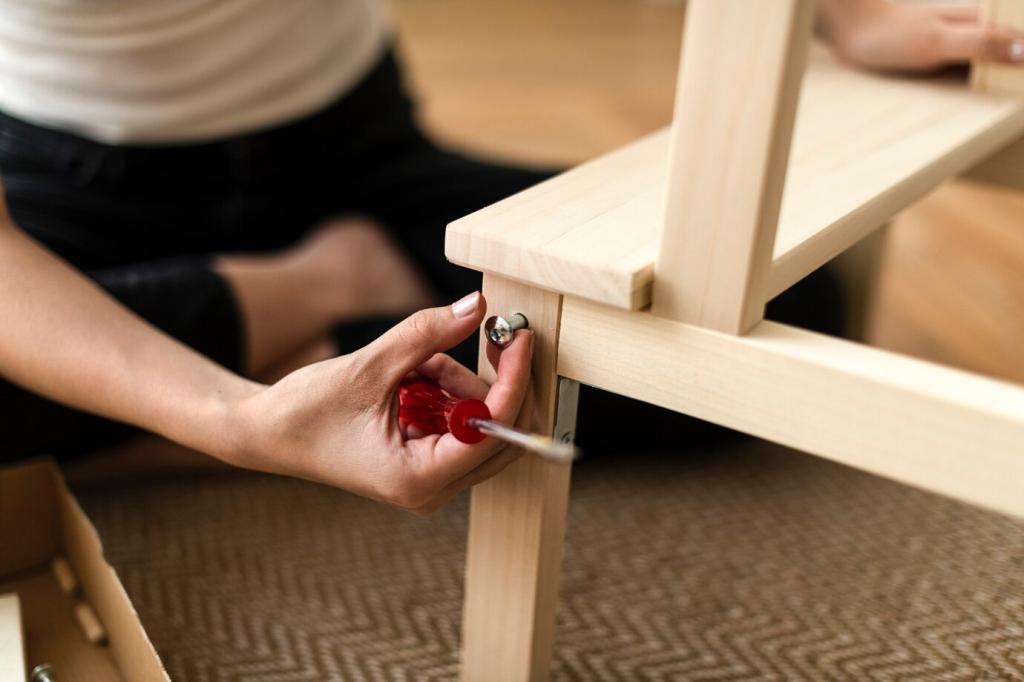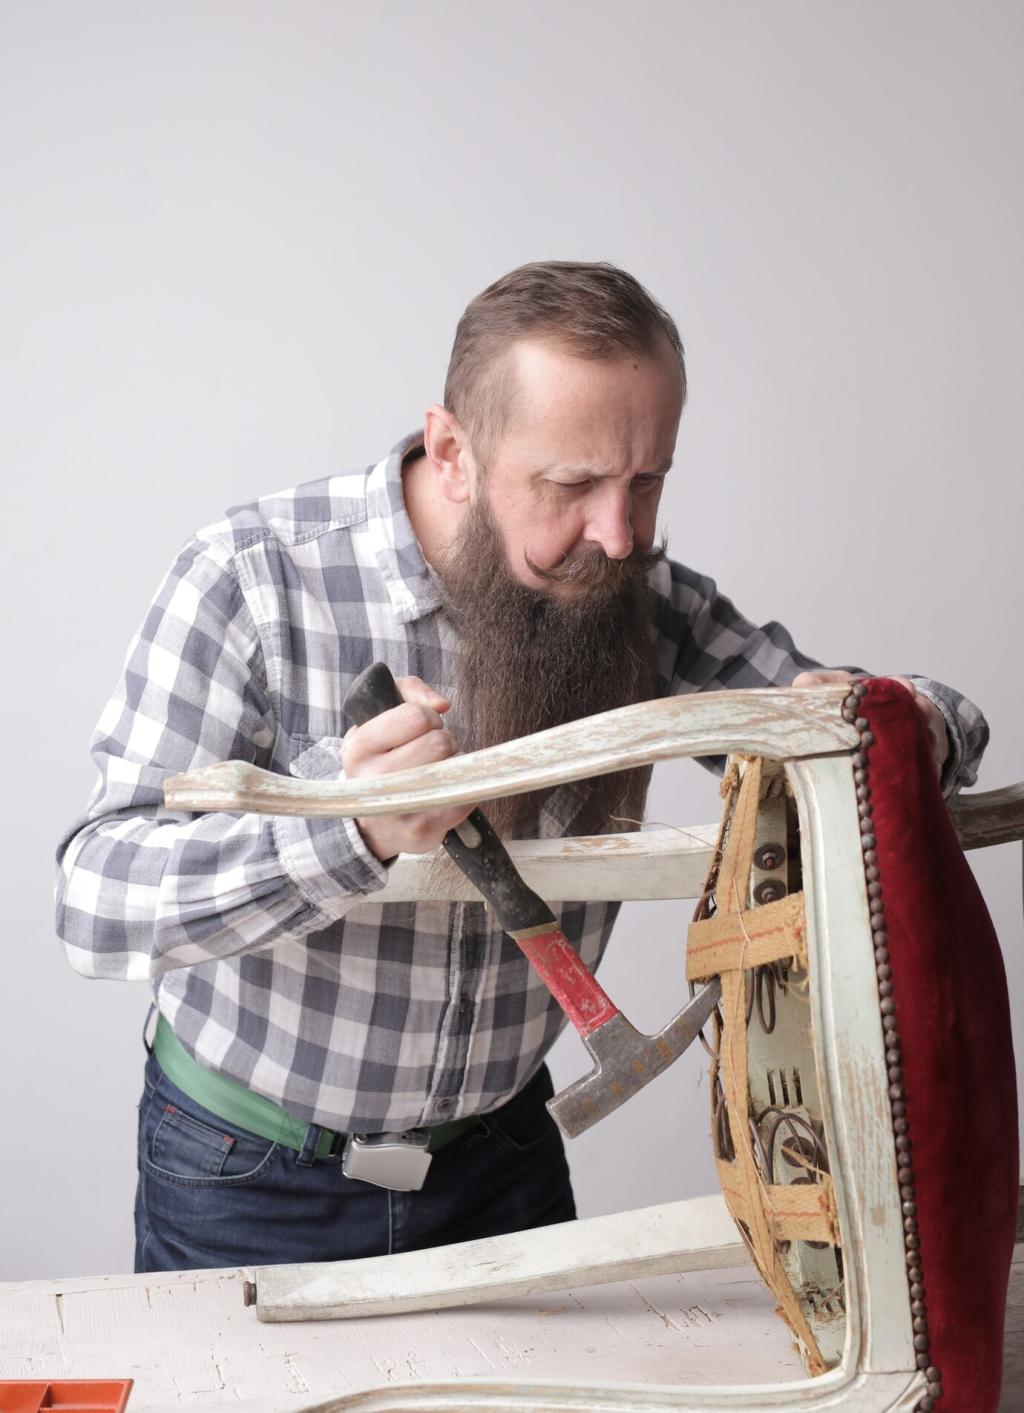
How Veneer Works—and Why It Gets Damaged
Veneer is a thin slice of real wood glued to a substrate, offering beauty with stability. Because it is thin, minor moisture swings, poor adhesion, or impact can cause visible damage faster than on solid wood.
How Veneer Works—and Why It Gets Damaged
Humidity fluctuations, direct sunlight, hot mugs, and even a laptop’s heat can create bubbles, cracks, and delamination. Learning these triggers helps you spot danger early and plan protective habits that prevent recurring repairs.